Seed Germination
Growing hibiscus from seeds is a lot of fun. Seedling plants are typically tough little guys that grow rather fast and are genetically programmed to grow vertically to find sunlight in the competitive conditions of having other mature plants near by.
Starter Equipment Needed
Before you decide to plant hibiscus seeds you will need to have the needed growing items to provide them with the proper conditions for them to germinate and get going. As we keep mentioning hibiscus thrive in temperatures of 75-90F with the same percentage of continuous humidity. The presents a problem growing hibiscus seeds outdoors with daily temperature fluctuations and our typically dry climate here in Southern California.

Growing Media
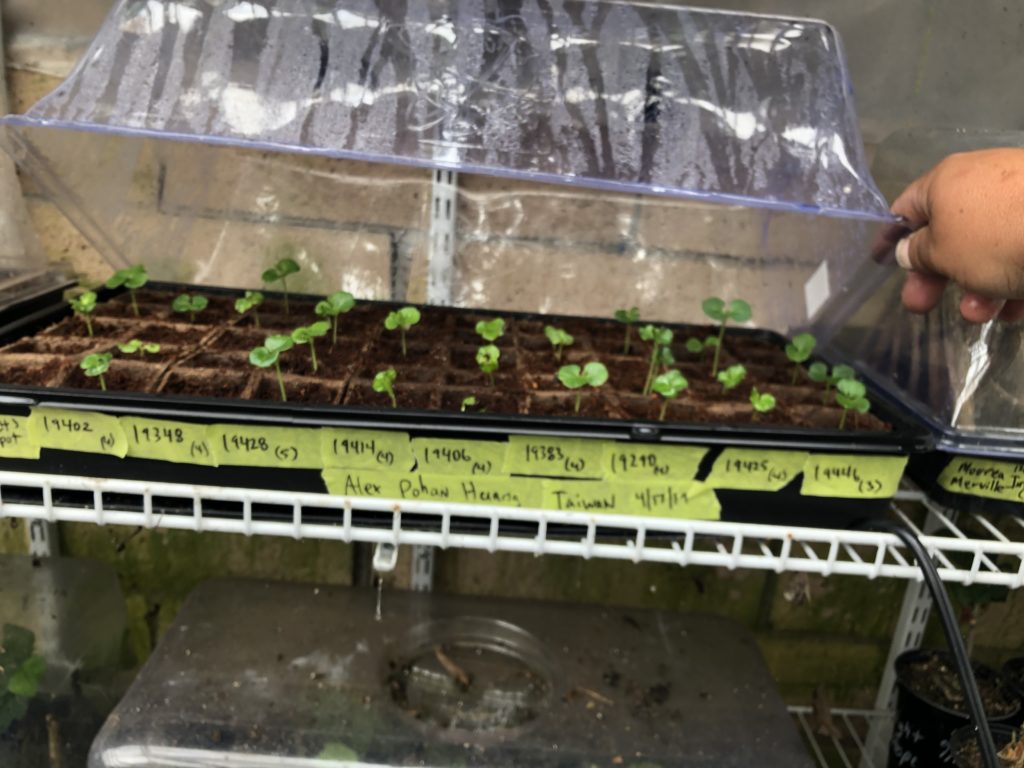
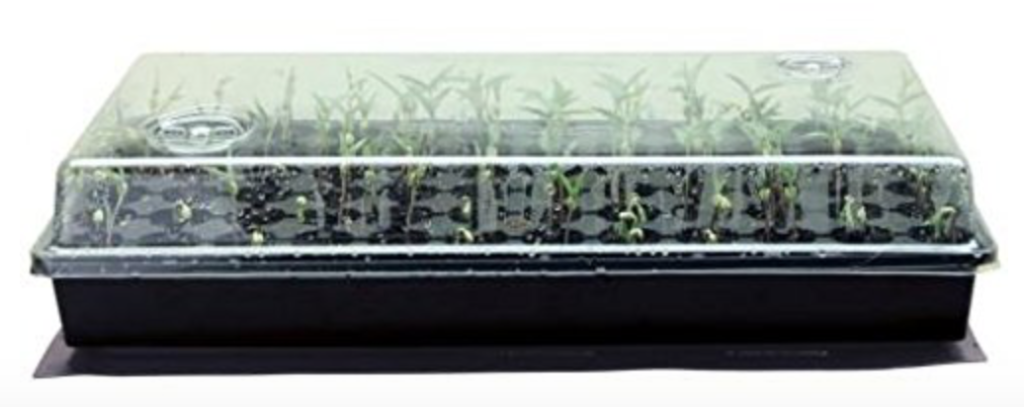
A seed starter tray is first along with getting some light soil for your seeds. We recommend one with a dome so you can control the humidity. Also make sure it has a reservoir underneath as once the plants germinate you will need to keep them hydrated and in the small confined area of the seed tray they can quickly dry out. Many garden nurseries sell seed starter soil which is great but any light mix will work. The key and this is very important is to not make the soil too wet. Just keep it moist. It is very easy for hibiscus seeds to get overly wet and turn to mush in just a day.
Another reason why a seed pod tray is a great way to go is that it let’s you properly track the crosses of your seeds. Many of our members use spreadsheets or manually create a tracking grid on paper showing what the cross is for every pod cell. One additional tip that is important is to permanently mark one corner of your pod tray. Once you spin it around you will lose the direction of which seeds is the first row or last row since all the edges of your pod tray look identical. Paint, nail polish or something similar that can withstand wet conditions works great. And the same goes for you if you are going to use multiple pod trays. Got to be able to tell them apart from each other. So label them on the sides or use different colors or whatever helps you identify one from the other.
Heat Mats
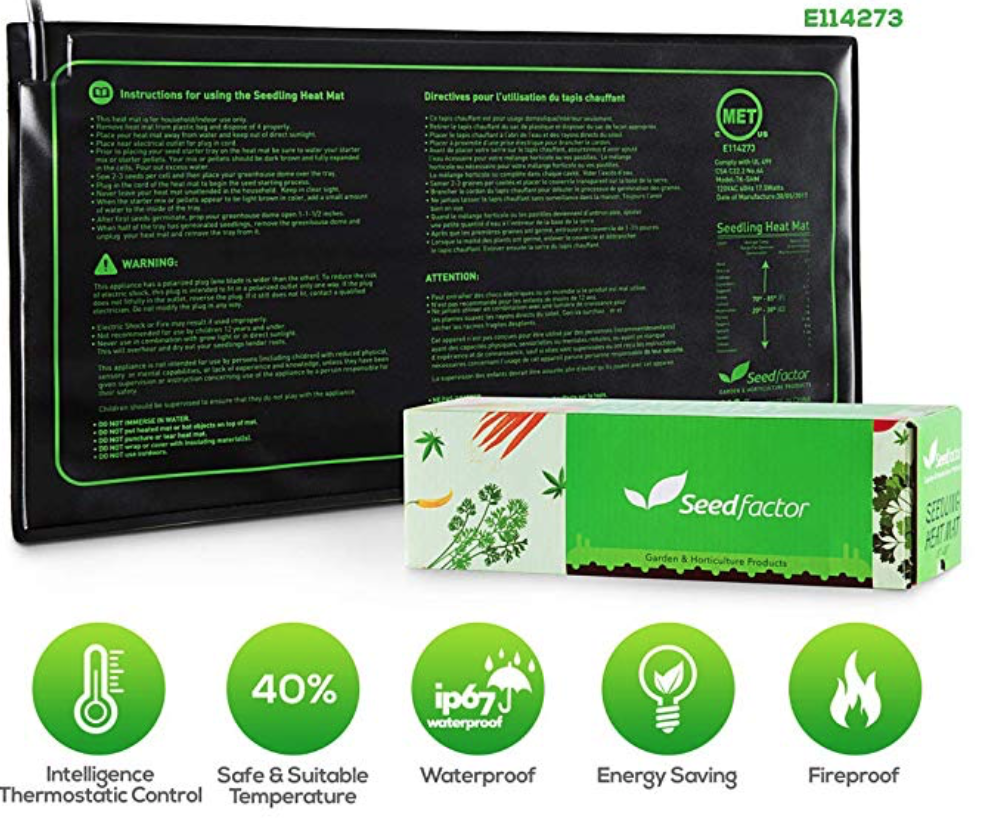
Also a great item to have is a heat mat. Heat mats are great at providing the additional heat needed to help even out temperatures and avoid daily fluctuations. During the warmer months the hotter temps combined with the heat mat might make temperatures too hot so it might not be needed. But during winter it is the perfect combination. So many of us who grow seeds prefer to do it starting in the late fall until mid spring. By that point the seedling baby plants are large enough to be able to handle life without the assistance of the heat mat.
Light
We know all plants need light but hibiscus seem to prefer heat more than light. So yes it is important that they receive some sort of light when indoors but the main need is heat and humidity. With this in mind you have two light options: traditional fluorescent light and LED light.

If you can provide the proper ambient heat another way aside from your light source then LED lights might be the better option. They are expensive but the ongoing cost savings they provide you will eventually save you a lot of money. They sell all sorts of different spectrum lights that are supposed to optimize growth levels in plants but for hibiscus who are looking for heat and humidity we have not seen much of a difference with these different spectrum colors.

Traditional fluorescent lights are much more cost friendly to purchase but they are expensive to run 24 hours a day for months at a time. The one advantage they have is they generate heat which hibiscus love. Some of our members will use both heat mats and fluorescent grow lights during the cool winter months and then as the temperatures rise in spring we turn off our heat mats and put our lights on a timer so it turns on at night and morning to keep the temperatures constant. This opens up the ability to constantly adjust the correct combination of inputs to get your baby seedlings even temps and humidity for a majority of their days indoors. Just keep adjusting your timer for your lights to match the changes in the weather. Sometimes even in January we can get temperatures approaching the 90’s.
Seed Nicking
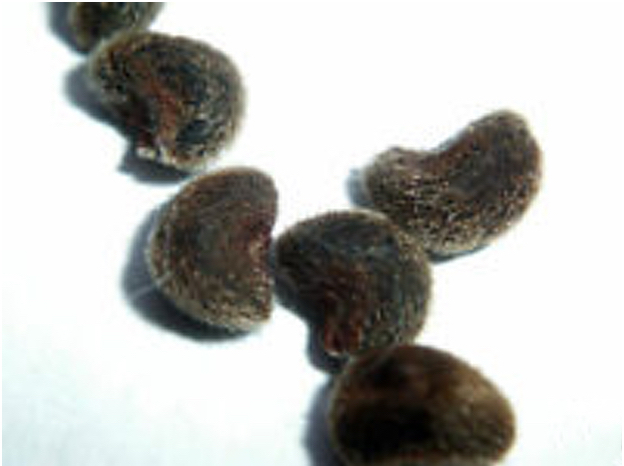
Hibiscus seeds have a thick skin around them to protect the germ inside which is the baby plant waiting to emerge. The skin becomes a barrier that many times proves to be impenetrable and the baby plant inside cannot break through. Also it can prevent the needed moisture from getting inside the seed to wake it up and initialize the growing process. Here is a great video from hybridizing legend Barry Schlueter himself on how to properly nick your seeds.
Use this demonstration as your guide on our website for how to correctly nick your seeds.
This is a critical step in getting high germination rates for your seeds. The hardest part about seed nicking is to not cut into the actual seed (germ). That is the baby plant and if you damage that when nicking you can kill it before it has a chance to start growing. So make sure you have a slicing tool that gives you the best control possible when you nick the seed. It depends on the person what works best, we have seen anything being used from exacto knives, box cutters, carving knives, pocket blades to kitchen cutlery.
You will also observe that hibiscus seeds can vary in size. Our experience has been that this correlates to the strength and type of bush they will become. Small seeds many times yield plants that have thinner branching and more delicate growth habits. Large, thick seeds tend to yield stronger plants that are more vigorous.
If you notice seeds that you have stored look pale, blonde colored or lack that fuzzy appearance that is a sign that the seed might have aged, dried out and become unviable.
Planting Nicked Seeds
Once you have properly nicked your hibiscus seeds it is time to plant them. Again the soil you are using should only be moist, not overly wet. You will plant the nicked side up about 1/2 inch below the soil surface. Lightly cover with soil so your baby plant can quickly reach the surface, don’t tamp down the soil much if at all. If you are using a pod tray do not put water in the reservoir tray underneath as that will make the soil too wet and your seeds will turn to mush. You will fill it with water once all your plants are done sprouting and need a good water source.
We recommend using a humidity dome with your pod tray. To maximize the humidity conditions at this point you should use the low profile dome which is is the 2″ height. Being there is no water in the reservoir tray underneath this is an important step. Do not use the high rise 10″ domes until you have water in the reservoir. Once your baby seedling plants start to hit the top of your low rise 2″ dome then you can switch to the high rise and add water to the reservoir.
Germination
Once you have planted your nicked seeds you will need to keep the soil moist. We recommend misting the soil with a spray pump with just water. Usually the first babies will break the surface in as little as 5-7 days. It is a good practice to look for signs that the soil surface is being pushed up by a germinating seedling and gently clear the soil away so it can get it’s first light and air. Many times the seed skin will get stuck on the emerging plant so you might need a pair of tweezers to pull it off. Be extremely careful as it is common for the seed skin to be around the main stem of the seedling like a shirt collar. This means you have to very carefully cut the seed skin first to remove it. If you cut the baby plant instead and it is below the two leaves it will die.
We generally give a seed about 3 weeks maximum to germinate. If you do not see any new plants spouting after a week from the last one don’t be afraid to check each pod to see if the seed is still there and hasn’t turned to mush yet. Sometimes you will see it is in the process of sprouting or maybe it has sprouted the wrong way and is growing down or sideways. You can gently turn it the right way to get it going and then bury it again. If you have extra seeds waiting to be planted this is also a good time to get those going in the spots that a seed did not germinate.
Another common site is having most or an entire baby seedling plant come out of the ground on their own. We always marvel at how they manage to do this. A pair of tweezers or mini screwdriver is great at gently tucking them back inside the hole from which they emerged from. Be extra attentive to not breaking any roots or the plant itself as they are very fragile at this point. Sometimes this is a sign that the soil is getting too dry and as it cracks it can push out the baby plant.
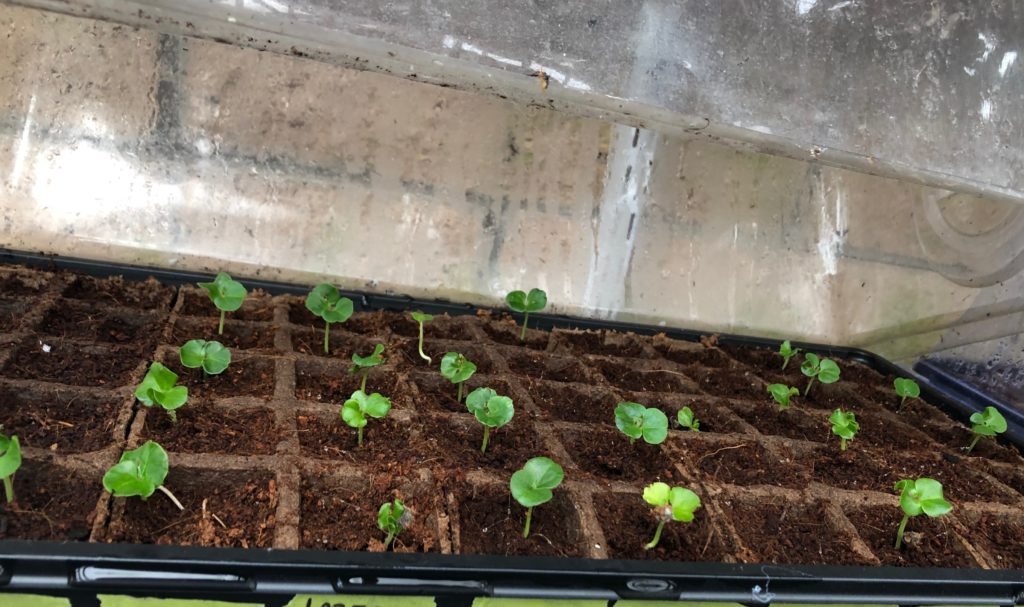
Every emerging baby seedling plant will have two leaves on it that were part of the plant when inside the seed germ. These leaves are called cotyledons and in no way represent what the leaves on your future plant will look like. As your seedling plant continues to grow it will sprout new leaves that will be more true to what it’s leaves will look like and it will shed those two baby leaves eventually. Young seedlings also tend to grow leaves that are variegated and have some amazing colors like red and purple on them but this will not last as the plant gets larger and more mature.
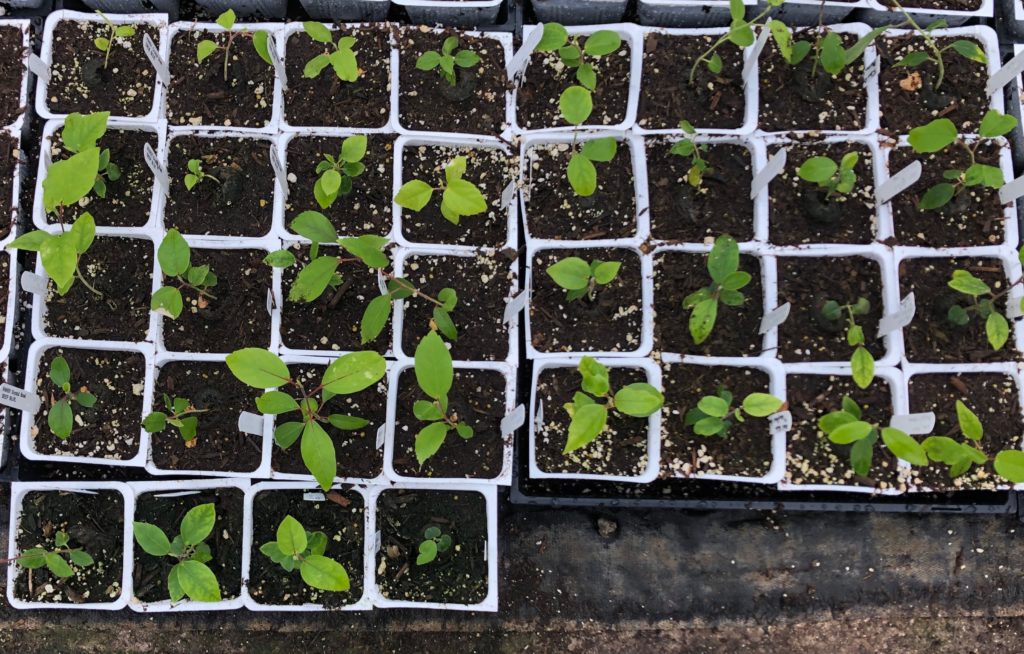
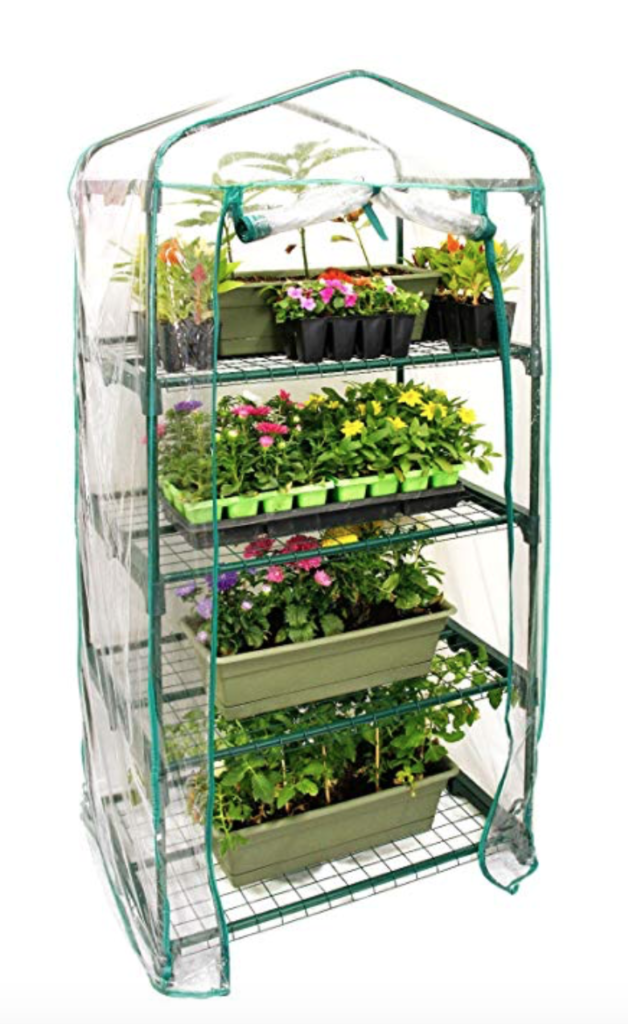
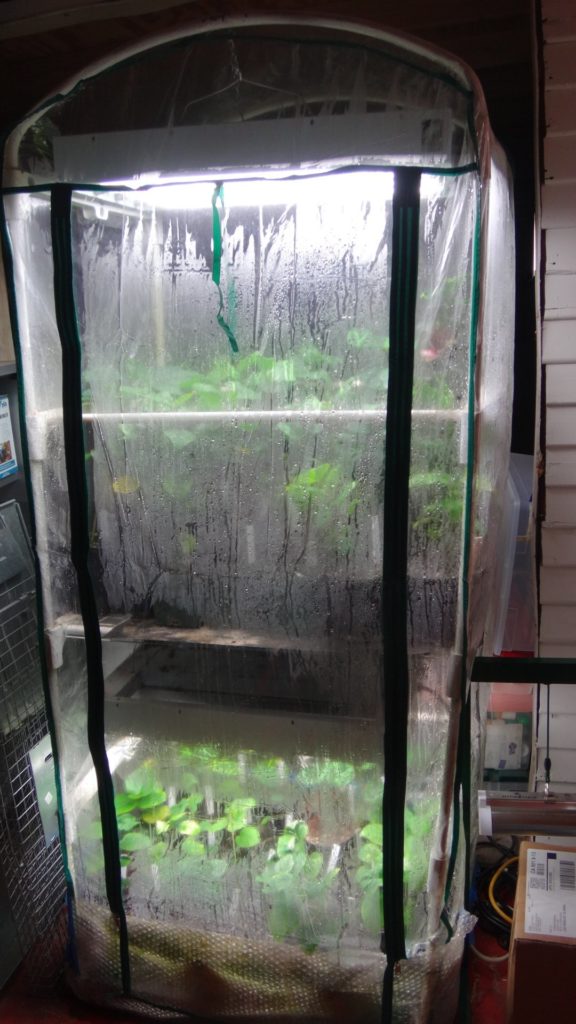
Life After the Tray Pod
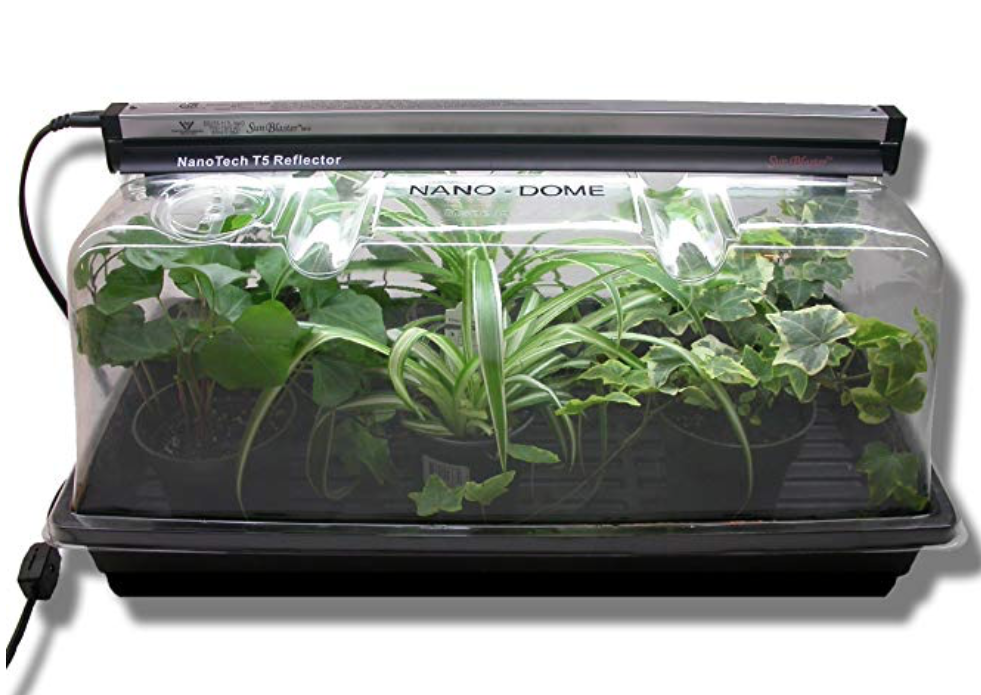
Once your hibiscus have started to reach the undersides of the top of your humidity dome it is time to pot them up into 4″ pots. If the weather conditions are still not great for young and fragile new seedlings plants who are used to optimal growing conditions a great next step is some sort of enclosed growing area. For many of us who grow seeds in the winter, spring can be a time of rollercoaster weather which can be hard on young plants. This provides a nice growing environment to get your plants strong and ready for the outdoors and all the conditions that comes with it.
Make sure you also have plant tags ready to go as you will need to label each potted plant so you can still track your crosses. Have fun watching your seedling plants grow. If grown in optimal conditions their entire lives some will start blooming around the 6 month mark but most take 1-2 years. It depends on the genetics too, some plants are great bloomers and others not so much.