Branch Tip Dieback & Root Rot
This is the Most Serious Problem for Hibiscus
Branch Tip Dieback on any hibiscus plant is the most serious occurrence you can observe on a hibiscus plant. This is typically accompanied by the top leaves of the branches looking veiny and chlorotic. You will also observe your plant is getting lots of yellow leaves from the ground up and over time no new leaves are replacing them. Eventually all that is left are the top leaves. This is a sign that your plant has rot either in the roots or somewhere around the plant’s base main trunk and worse case scenario the infection has entered the interior of the plant and is now blocking enough of the uptake channels to start starving your plant of needed nutrients to the point that it is now starting to fail to support it’s normal growth functions.
Dry Rot Not Root Rot
The only time you will see branch tip dieback that is not from an internal rot infection is during a wet prolonged rainy stretch in winter. During such stretches it is quite common to get grey mold growing on open nodes and spots where a bloom stem had recently fallen off. The grey mold has found a way inside the branch and is now blocking the nutrient channels for the branch. Everything above will then starve and die. This is known as dry rot.
There is a simple solution for this as you just need to cut below the infected area when the weather is dry again to eliminate the infection. Make sure when you cut the branch below that the wood is completely green inside with no brown or black. If you see that you need to cut further down the branch until you get a clean cross section of wood. Make sure to disinfect your pruning sheers after each cut to not spread the infection into a fresh, clean area.


Start with the Scratch Test
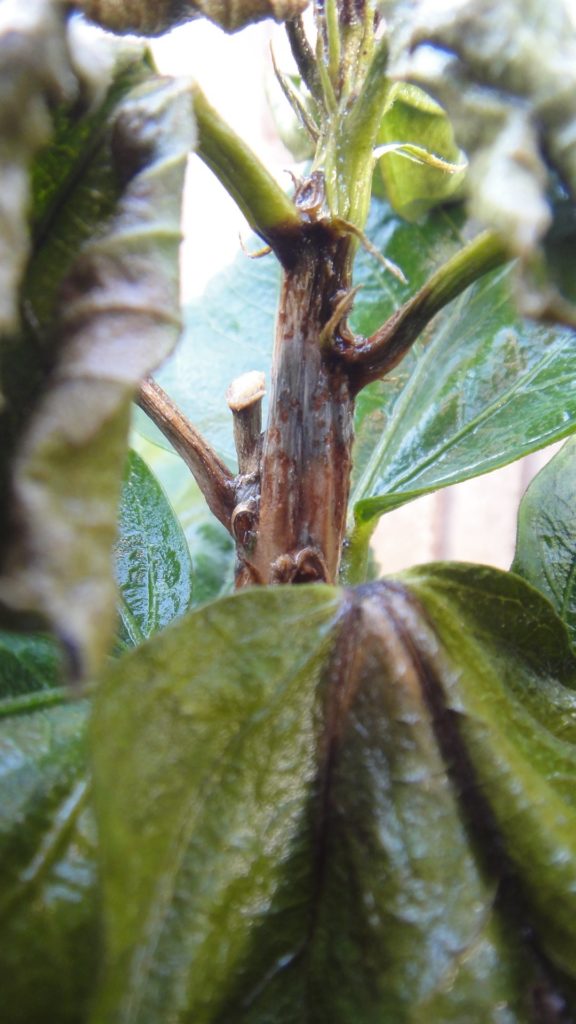
When you do have a plant that has branch tip die back that is not caused by dry rot your plant is in serious jeopardy of eventually dying. Realistically once a plant has root rot that has gotten to this point your plant has less than a 50% chance of making it in the long run. The first thing you need to do is the scratch test. Take your fingernail and lightly scratch away the bark above the main trunk – the wood underneath should be bright green or dark green and shiny. If the wood is pale green and fibrous, yellow, brown or black your plant is doomed. The infection has severely infected the base of your plant and if nutrients cannot get past that point your plant will just linger for months and slowly starve to death. If the wood is still bright green underneath then there are a few action steps you can take to try and save it.
Removing Your Plant From the Soil
The first thing you will need to do is gently remove your plant from the soil it is in. If in a pot this is usually much easier than if it is planted in the ground where it is typically strongly anchored in. Hibiscus roots hate being disturbed in any fashion so do your best to be as gentle and easy going as possible in this process. Roots do not survive in direct sunlight so make sure you do this in shady spot.
Once you have removed your plant from the soil shake off all the soil. You can use your hands to gently shake the roots to get as much of the soil off as possible. We find it is a good idea at this time to place your plant in fresh air (not direct sunlight) and let the roots get some air for 20-30 minutes. The pathogens that cause root rot hate oxygen so this will help to dry out the roots a little but be careful not to dry them out too much. It is a tricky balance here to kill off the pathogens without drying out the roots too much.
Inspecting for Actual Rot on the Roots
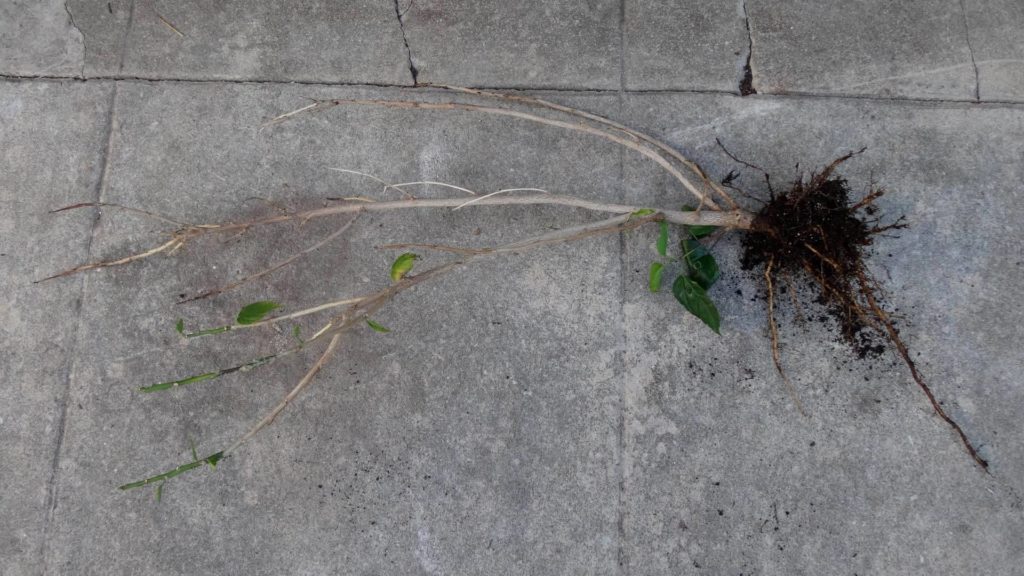
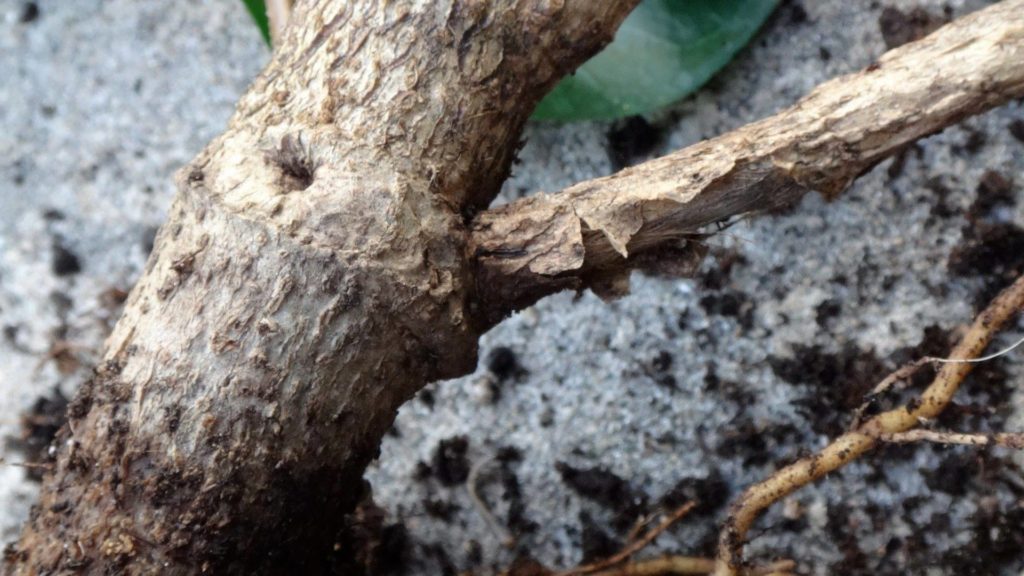
At this point inspect the roots for any obvious rotted areas and prune them off. Again make sure to disinfect your pruning sheers after each cut to ensure you do not spread the infection. Also check underneath the base of the trunk. That is another spot that rot loves to start in. If that is infected your plant is terminally ill and cannot be saved in the long run.
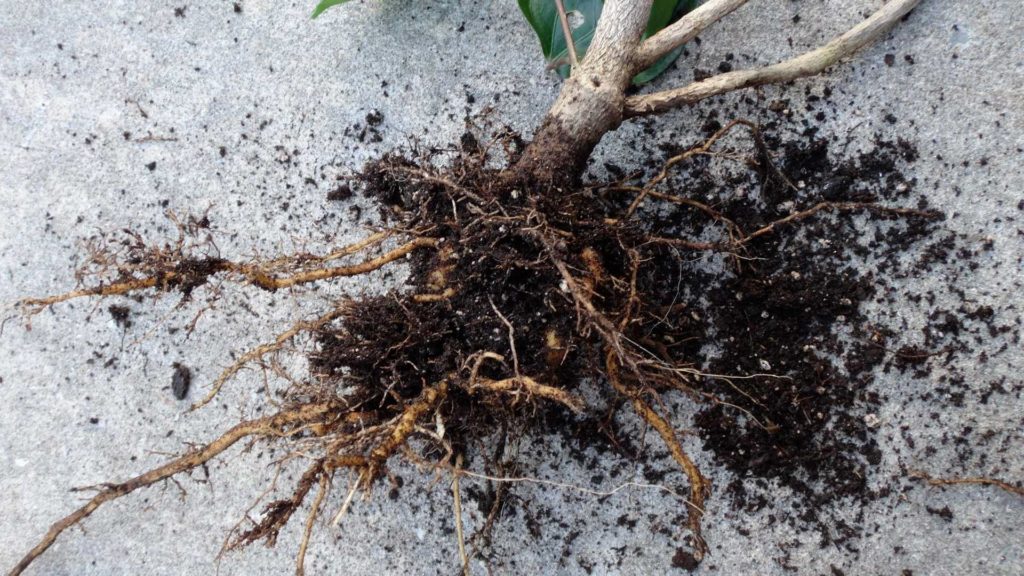
Another thing you want to look for while you can see the roots is the number of bright white roots there are. Many times the root rot has started from the soil being too wet and lacking air. As this occurs the roots will lose their bright white and beige colors and be replaced with brown and black roots that are dead and rotting. If you don’t see any or few white roots that is a bad sign and explains why your plant is having trouble getting nutrients.
The good news here is that the infection might have not gotten inside your plant yet and you just need to get the soil conditions right, clean up the bad roots and replant. If this is the case then you need to throw away all soil, disinfect your pot with bleach (pathogens can easily live on the surface of your pot even when in storage for years) and you might want to perform a root wash your plant.
Treating for Rot Pathogens
You can make a mix of 10% bleach and water and either spray all roots while exposed (in shade only) or dunk the roots in a bucket of the solution. Give the roots proper time to mostly dry out and then carefully replant. Make sure you are using a soil mix that is light and has plenty of perlite and/or pumice in it. Some of our members like to use cactus/succulent mixes but they do vary a lot so make sure they do not get heavy and dense when wet.
If you have a more mature plant that is in ground or in a pot for years then the root structure might look a bit different. You will not see those bright white roots but instead your will see 3-5 large dominant roots that have fine little hairs on them. Those fine little hairs are the ones that uptake nutrients for your plant. So don’t freak out when you don’t see any bright white roots. It is easier to see root rot on these plants since you have mostly larger roots and the rot will be evident with decayed sections that look like they are mushy and eaten away. Again inspect under the base of the trunk for signs of rot. You might be forced to spray as the root system could be too large to place in a bucket.
Pre-Fertilize Your Soil
As you add the new soil to the place your plant is going to be planted in we recommend to water and fertilize the soil. You want to get the soil moist not wet. The dominant roots if a larger plant are looking for a water source so this becomes a tricky thing. You cannot put too much water as that will enable the rot to start flourishing again. But at the same time your plant has now lost it’s main water source so it can easily go into shock.
Younger plants may not be as vulnerable to this since they have not developed large dominate roots and they are able to get the water they need more readily. So it is important to pre-fertilize and moisten the soil so that you are not forced to then water your plant after replanting it. This is a critical proactive move to help avoid the conditions that that the rot pathogens prefer to get going again. Chances are you have not removed them all so having the proper soil environment to prohibit their growth is key now.
Do Not Go Back to Normal Watering
Once you have replanted your plant DO NOT NORMALLY WATER OR FEED your plant. Just add a very small amount of water with fertilizer. Again you do not want to give any remaining pathogens the chance to get going again. Watering normal levels will start to recreate the conditions that those pathogens need to get going again. Unless your plant is in a small pot that dries out on an almost daily basis you need to use restraint and give you plant just enough water with ferts to not be dehydrated.
At this point you have done all you can and you are depending on the stored energy it has inside itself to get going again. There is no guarantee your plant will make it but you have given it the best chance to recover. It all depends on if the infection has gone from being just in the roots to inside the plant itself. Once inside the plant it is doomed, it just takes time – sometimes months if not several years for larger plants to succumb.
Place Your Plant in Optimal Conditions
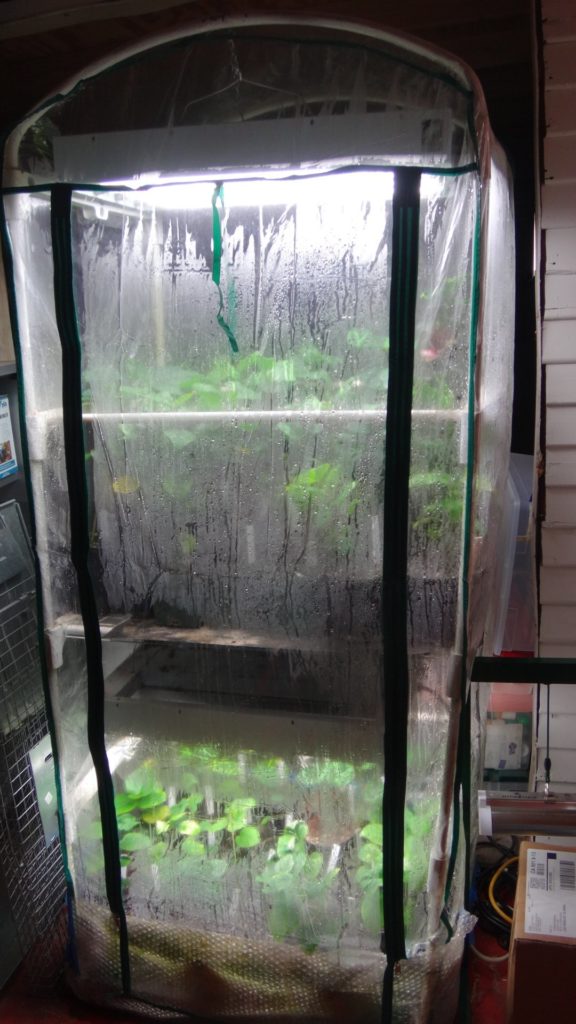
The last thing to do is to try and give your plant optimal conditions to help it get the energy and push it needs to get going again. It is already under great stress from the pathogens blocking the intake channels and now you have uprooted it and disturbed the roots so another major stress there. Hibiscus are from tropical origins so their ideal conditions are temperatures between 75-90F and humidity over 50%. So warmth is key now just remember that they do not like direct sunlight over 95F. Some of our members have created mini greenhouses where their plants are protected from strong sun but get lots of heat. Just watch that the humidity gets so high that it creates wet conditions that those nasty pathogens like.
What to Expect After
If your plant survives the repotting or replanting process then you should expect to see new leaf growth. The challenging part about root rot is that it is a slow process that takes months if not years on a larger plant to kill it. In the mean time your plant will continue to grow, bloom and give you hope it has completely recovered. But over time the pathogens inside your plant will multiply and move up your plant. As this continues you will start to see more signs that something isn’t right with your plant. Signs that your plant is still in serious trouble are: lack of leaves, diminished new leaf production, dull leaves, veiny leaves, continual dropped buds, smaller blooms, increased pest attacks and being easily affected by the weather.
Learn From These Experiences
In the end as good grower you will have hibiscus die on you but the difference is you learn from what happened and apply this to your skillset. Those that learn and adapt to not repeat the same mistakes will be the most successful growers that get the best results. Let your failures become your best learning experiences that propel you forward. Some of the best advice we can give you is to be prepared for the first several years of growing hibiscus to be a rollercoaster of highs and lows as you come down that learning curve. The good news is as you get better from what you learn those lows become shallower and farther apart with much more time on top.